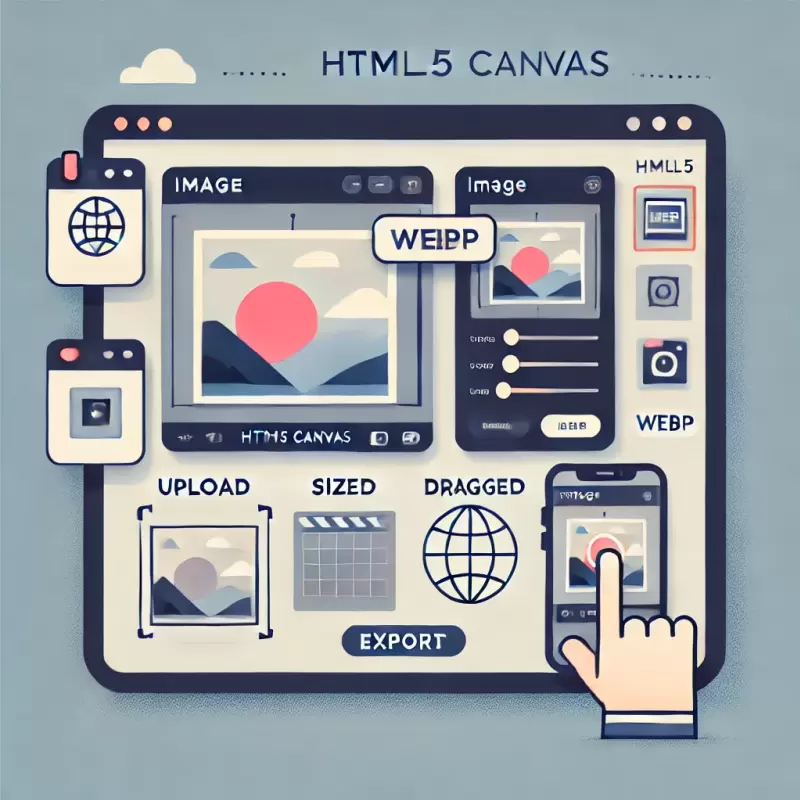
Upload and Edit Images with Javascript Image, Zoom, Crop Images and Export to WebP
This article explains how to command AI to create an “Image Upload and Editing with HTML5 Canvas” project from start to finish, with all the necessary functions to make the project complete and meet your requirements. The project includes image uploading, resizing (zoom), image dragging, and exporting images as WebP. It also covers how to set the dimensions of the container, detect dragging and clicking, and calculate the position of the image when zooming.
1. Planning and Commands
Before giving commands to the AI, you need to have a plan and a clear idea of the functions you want in the project. For this example, here’s a rough plan:
- User-friendly webpage There should be a section for uploading images and control buttons for resizing (zooming) and exporting the image as a WebP file.
- Drag and adjust image position After uploading the image, users should be able to drag and adjust the size of the image as they prefer.
- Accurate positioning during zoom When zooming in and out, the image position should be recalculated based on the zoom level.
- Exporting the image as WebP Users must be able to export the modified image as a .webp file.
2. Commanding AI to Build the Project
2.1 Commanding AI for HTML Structure
The first step is to ask the AI to create the HTML structure of the webpage, which includes
- An upload area (file input)
- A display area (canvas)
- Buttons for resizing and exporting the image
Example command
Create an HTML file for an image upload page with an area to upload images (click to upload) and display the image on a canvas. The image can be dragged and resized. Add a button to export the image as a WebP file.
The AI will generate the HTML structure with components like this
<!DOCTYPE html>

<html lang="en">

<head>

  <meta charset="UTF-8">

  <meta name="viewport" content="width=device-width, initial-scale=1.0">

  <title>Profile Picture Upload</title>

  <link rel="stylesheet" href="styles.css">

</head>

<body>

  <div class="upload-container">

    <h2>Profile Picture Upload</h2>

    <div id="dropArea" class="image-preview-container">

      <canvas id="imageCanvas" width="300" height="300"></canvas>

      <p>Click here to upload a file</p>

    </div>

    <input type="file" id="imageUpload" class="file-input" accept="image/*" hidden>

    <label for="zoomRange">Zoom: </label>

    <input type="range" id="zoomRange" min="0.5" max="3" value="1" step="0.1">

    <button id="exportButton">Export as WebP</button>

  </div>

  <script src="script.js"></script>

</body>

</html>
2.2 Styling the Page with CSS
Next, we ask AI to create a clean, well-designed CSS file that fits the layout and ensures that the preview area and controls are visually appealing and functional.
Example command
Create CSS for the HTML file created earlier. Set the container size to 340px with 20px padding and style the canvas for proper display.
The result might look like this
.upload-container {

  background-color: white;

  padding: 20px;

  border-radius: 10px;

  box-shadow: 0 2px 10px rgba(0, 0, 0, 0.1);

  text-align: center;

  width: 340px;

}


.image-preview-container {

  width: 320px;

  height: 320px;

  border: 2px dashed #007bff;

  border-radius: 10px;

  margin-bottom: 10px;

  display: flex;

  justify-content: center;

  align-items: center;

  background-color: #f9f9f9;

  cursor: pointer;

}
2.3 Building Functions with JavaScript
The image resizing and dragging are the key functions of this project. You need to write JavaScript that allows accurate image positioning and control over resizing.
Example command
Write JavaScript that enables users to resize images using a range slider (Zoom) and drag images within the canvas. Include a button to export the image as WebP.
Here’s an example of the JavaScript
// Drawing function for the image

function drawImage() {

  ctx.clearRect(0, 0, imageCanvas.width, imageCanvas.height);

  ctx.drawImage(image, originX, originY, image.width * scale, image.height * scale);

}


// Zoom function

zoomRange.addEventListener('input', function () {

  scale = parseFloat(this.value);

  originX = (imageCanvas.width / 2) - ((image.width * scale) / 2);

  originY = (imageCanvas.height / 2) - ((image.height * scale) / 2);

  drawImage();

});


// Dragging function

imageCanvas.addEventListener('mousedown', function (e) {

  isDragging = true;

  startX = e.offsetX - originX;

  startY = e.offsetY - originY;

  imageCanvas.style.cursor = 'grabbing';

});
2.4 Debugging and Improving the Code
After creating the initial structure and functions, testing the system may reveal issues such as image positioning not matching the user’s expectations during zooming. You can command the AI to fix this by asking it to improve the offset calculations.
Example command
Fix the position calculation of the canvas during zoom to consider the current offset.
The improved code will adjust the calculations to center the image correctly when zoomed
zoomRange.addEventListener('input', function () {

  scale = parseFloat(this.value);

  originX = (imageCanvas.width / 2) - ((image.width * scale) / 2);

  originY = (imageCanvas.height / 2) - ((image.height * scale) / 2);

  drawImage();

});
3. AI Limitations and Refining the Project with Other AIs
At times, AI might not fully meet your requirements. For instance, it may miscalculate image positioning or not handle dragging events as expected. In these cases, you may need to tweak the code yourself or turn to another AI model specialized in code debugging or refinement.
For example: If zooming doesn’t center the image as expected, you can command another AI model to review the code and make improvements.
Example command
The zoom function doesn't keep the image centered properly. Fix this issue so the image stays centered when zooming.
4. Testing and Fine-tuning
After obtaining the complete code, test the image upload, zooming, dragging, and exporting features. If you encounter any issues, you can continue refining the project by giving more specific commands to the AI.
5. Final Thoughts and Implementation
Once the project is finalized, you can deploy it on a real website or use it in various projects. The use of AI in coding streamlines the development process and allows you to focus on fine-tuning and testing. You can view the complete code generated by AI here https://github.com/goragodwiriya/crop or see a live demo of the results here https://goragodwiriya.github.io/crop/
Conclusion
Using AI to develop a project greatly reduces coding time and helps you improve project efficiency. It’s essential to plan the project carefully before giving commands to the AI and review the output thoroughly. If the AI cannot fully meet your requirements, you can always refine the project yourself or ask another AI for help in debugging or improving the code.